Getting started
Install ceelab, open it for the first time, protect the administration and print a first label.
Installing
ceelab runs on Windows, macOS (Apple Silicon) and Linux. Everything is included: there is nothing else to install.
| System | Installation |
|---|---|
| Windows | Run the installer and follow the steps. |
| macOS | Open the disk image and drag ceelab into the Applications folder. |
| Linux | Install the package: ceelab appears in the applications menu. |
The cee command, for printing from your scripts, is installed with the application: see Command line.
First launch
The very first time you open it, ceelab goes straight to the Administration: this is where you set up the computer before printing.
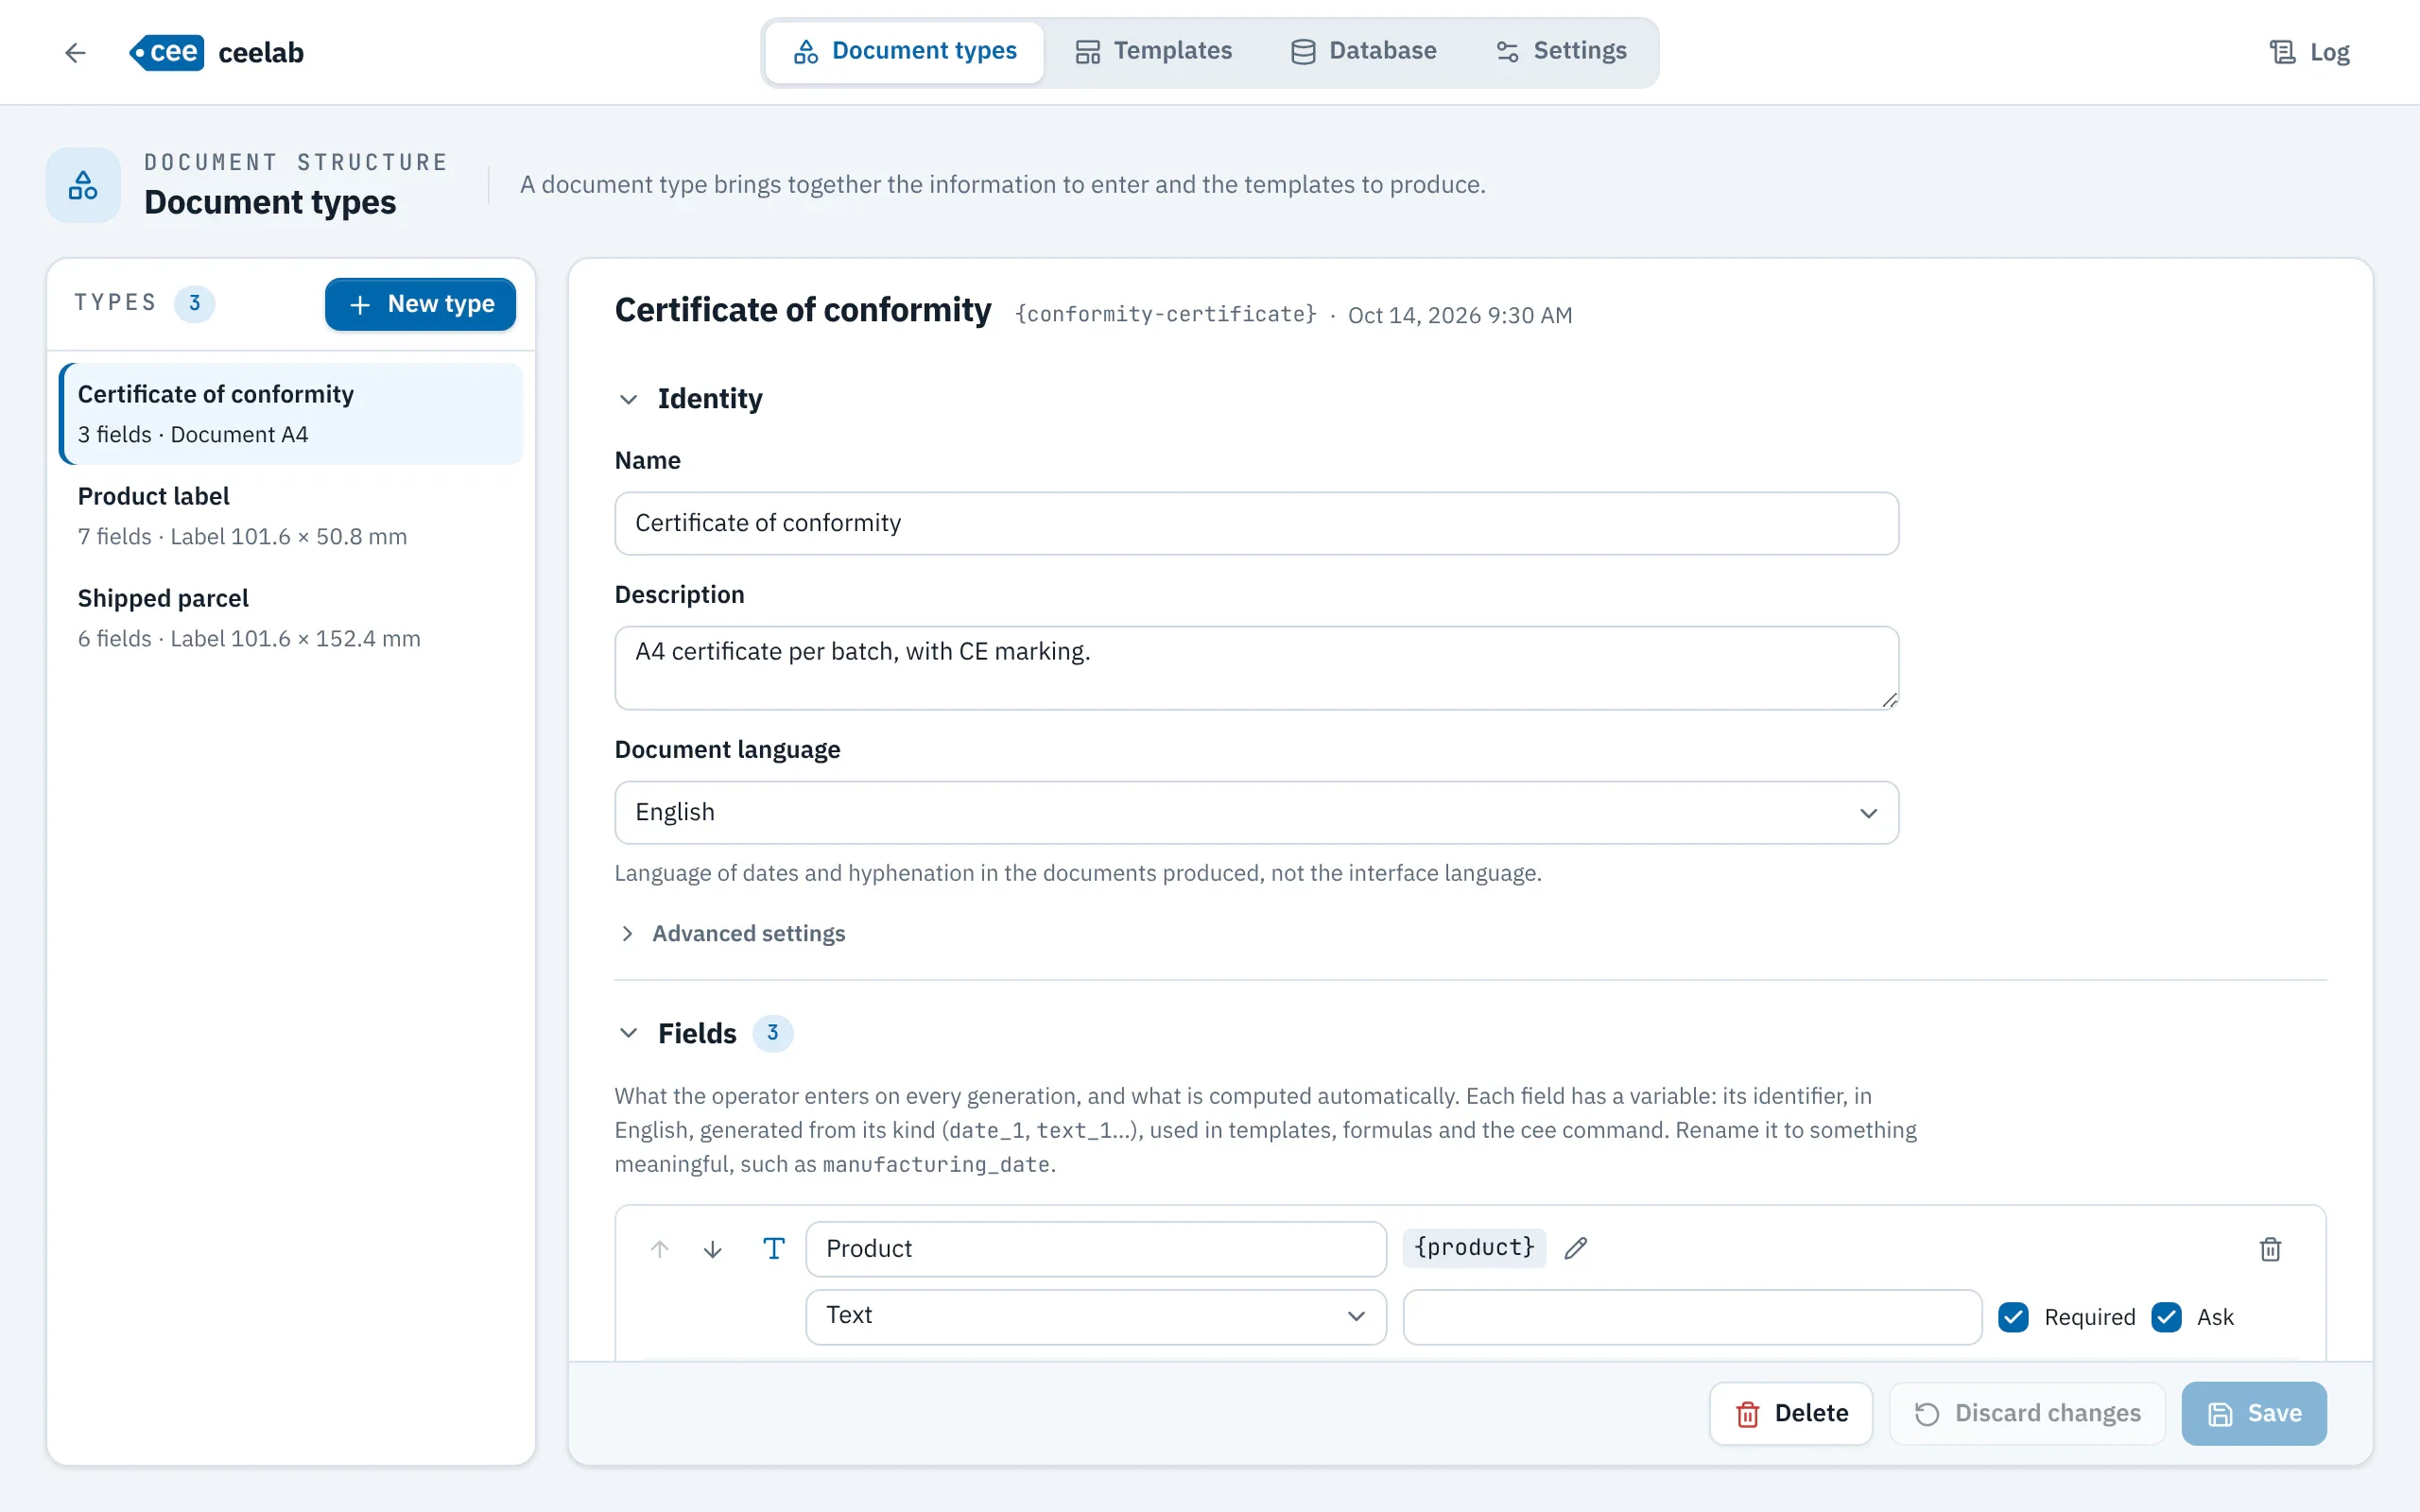
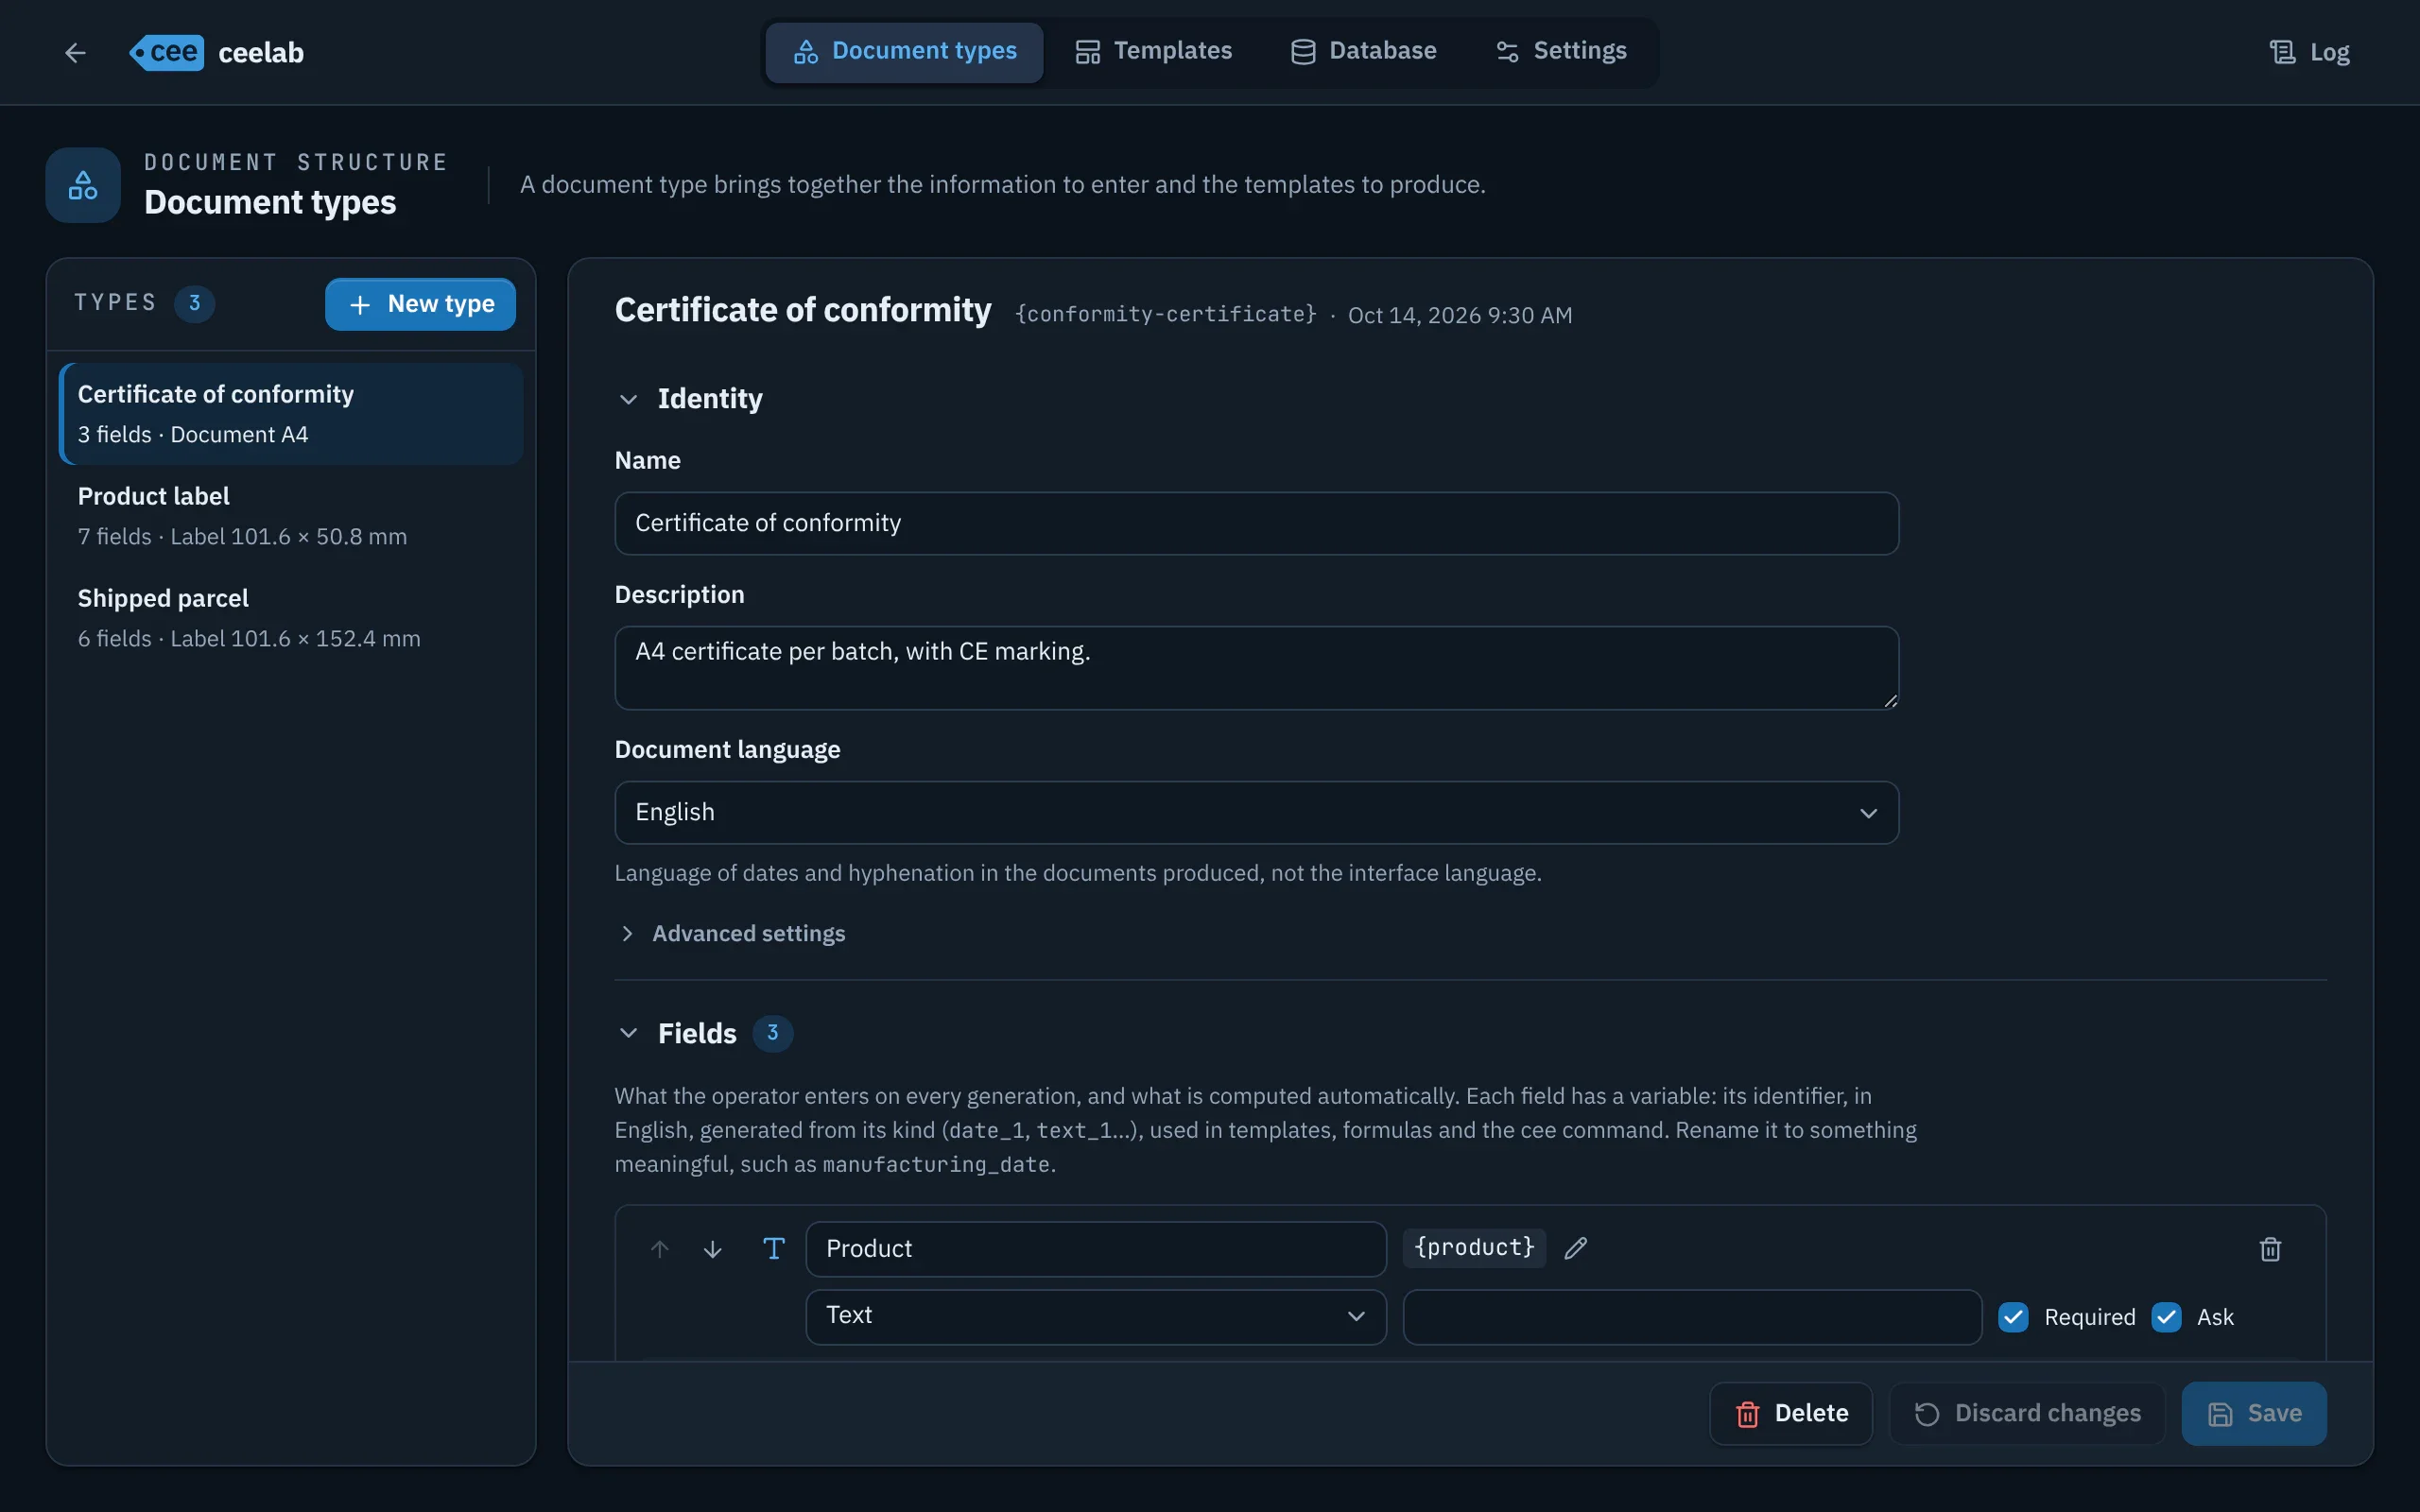
- New computer: choose the administration password, then, in Settings, set the printers, the folder where PDFs are saved and the location. Then adapt the sample provided, or create your own document types.
- Moving to another computer: on the password screen, Import backup… brings back all your data and settings, password included.
The sample provided
ceelab comes with a ready-to-use sample, Product label, and its 4 × 2 in template: product, reference, quantity, packaging, manufacturing date, automatic serial number and traceability code. Edit it, or start from scratch. If you delete it, New type › Start from the “Product label” sample recreates it (or Create the sample when the list is empty).
The password
The administration (templates, document types, settings) is protected by a password, asked once per session. After five incorrect attempts, ceelab goes back to the Generation space. If you forget it, see Troubleshooting.
Two spaces
- Generation: the everyday window, for entering and printing. It is the one that opens at launch.
- Administration: the large window for designing and configuring.
Ctrl+G (Cmd+G on macOS) switches from one to the other. Your current batch is waiting for you when you come back.
The first label
For the first batch of labels on a computer, ceelab prints a single test label. Check the orientation, alignment and content, reprint or rotate it if needed, then confirm: the rest of the batch goes out, with numbers in sequence. This check happens only once.
Updating
- Close ceelab before installing a new version.
- Make a backup before every update.
- If you use the
ceecommand, open ceelab once after the update.